A simple, two tier round cake for Leeanne and Martin’s wedding. Bottom tier is 12″ fruit cake covered with marzipan and sugarpaste; top tier is vanilla cake with vanilla buttercream and raspberry filling, covered with sugarpaste. Fabric ribbons, sugarpaste flowers and ceramic topper for decoration.
Mr Tumble Cake
A Mr Tumble themed cake with matching chocolate cupcakes. Bottom tier is chocolate cake filled with chocolate buttercream, top tier is vanilla cake with raspberry and vanilla filling. Mr Tumble is sugarpaste.
Simnel Cake
I made a version of Mary Berry’s Simnel Cake from the Easter Bake Off Masterclass. It was really tasty and fun to make. It was also the first time I crystallised flowers. Next time, I’ll not use so much egg whites on them.
Chocolate and Berries Cake
A chocolate cake with chocolate buttercream, panelled with Cadbury’s Dairy Milk Chocolate and topped with fresh berries. This was my first time using chocolate in this way. I had to temper the chocolate to help keep its finish and texture after melting it to shape it for the panels. This was tricky as I discovered my sugar thermometer doesn’t go low enough! I guessed a little but I’m not sure how it affected the finished chocolate. Foolishly, although I knew not to put warm chocolate in the fridge to set (or else it develops a white “bloom”) I didn’t think and put the panelled cake in the fridge to set up a bit before adding the berries. Hence the white marks on the chocolate. I’ll know better for next time!
Rustic Sunflower Cake
I made a quick chocolate cake for Andrew to take into the office for his birthday. Chocolate cake with chocolate buttercream and fondant flowers using my new centre mould!
Mermaid Castle Birthday Cake
A mermaid castle cake for Rosie’s 6th birthday. Bottom tier is chocolate cake with chocolate buttercream filling, middle tier is vanilla cake with vanilla buttercream and raspberry filling, top tier and towers are dummies. Hand-painted mermaid. The shells were made by my 7-year-old son using the plastic insert from a box of chocolates. This cake very nearly didn’t come off, as I was delayed by a migraine and then by my older daughter breaking her finger and having to have trips to hospital to sort it out. But it was worth it to know that Rosie had the cake she’d envisioned.
Wheat- and Dairy-free Cake
A chocolate cake for Emily. This was a challenge as she is on a dairy and wheat free diet. The cake was easy enough, but making the buttercream to go as a crumb-coat under the fondant was a challenge. In the end it was too soft and didn’t hold its shape too well. All in all, it was a good challenge, and I know what to do better next time.
Design inspired by Panel7124’s cake.
Ninja Cake
A ninja cake for Debbie. She won the promise of a cake at the fundraising auction, and chose a ninja design for her colleague’s birthday. Chocolate cake filled with chocolate buttercream, covered with fondant and accompanied by sugarpaste throwing stars painted with silver edible paint.
Find my throwing stars tutorial here.
Inspired by KakkuKatrista’s Ninjago cake.
Coffee Mug Cake
A chocolate cake with fresh cream mocha filling, chocolate buttercream and sugarpaste. The spoon is made of sugarpaste painted with silver edible paint. This cake was for Pod’s birthday, and I just had to make it a mug of coffee because she is probably the biggest influence in the instant coffee market in Niddrie 🙂
How to Make a Ninja Throwing Star
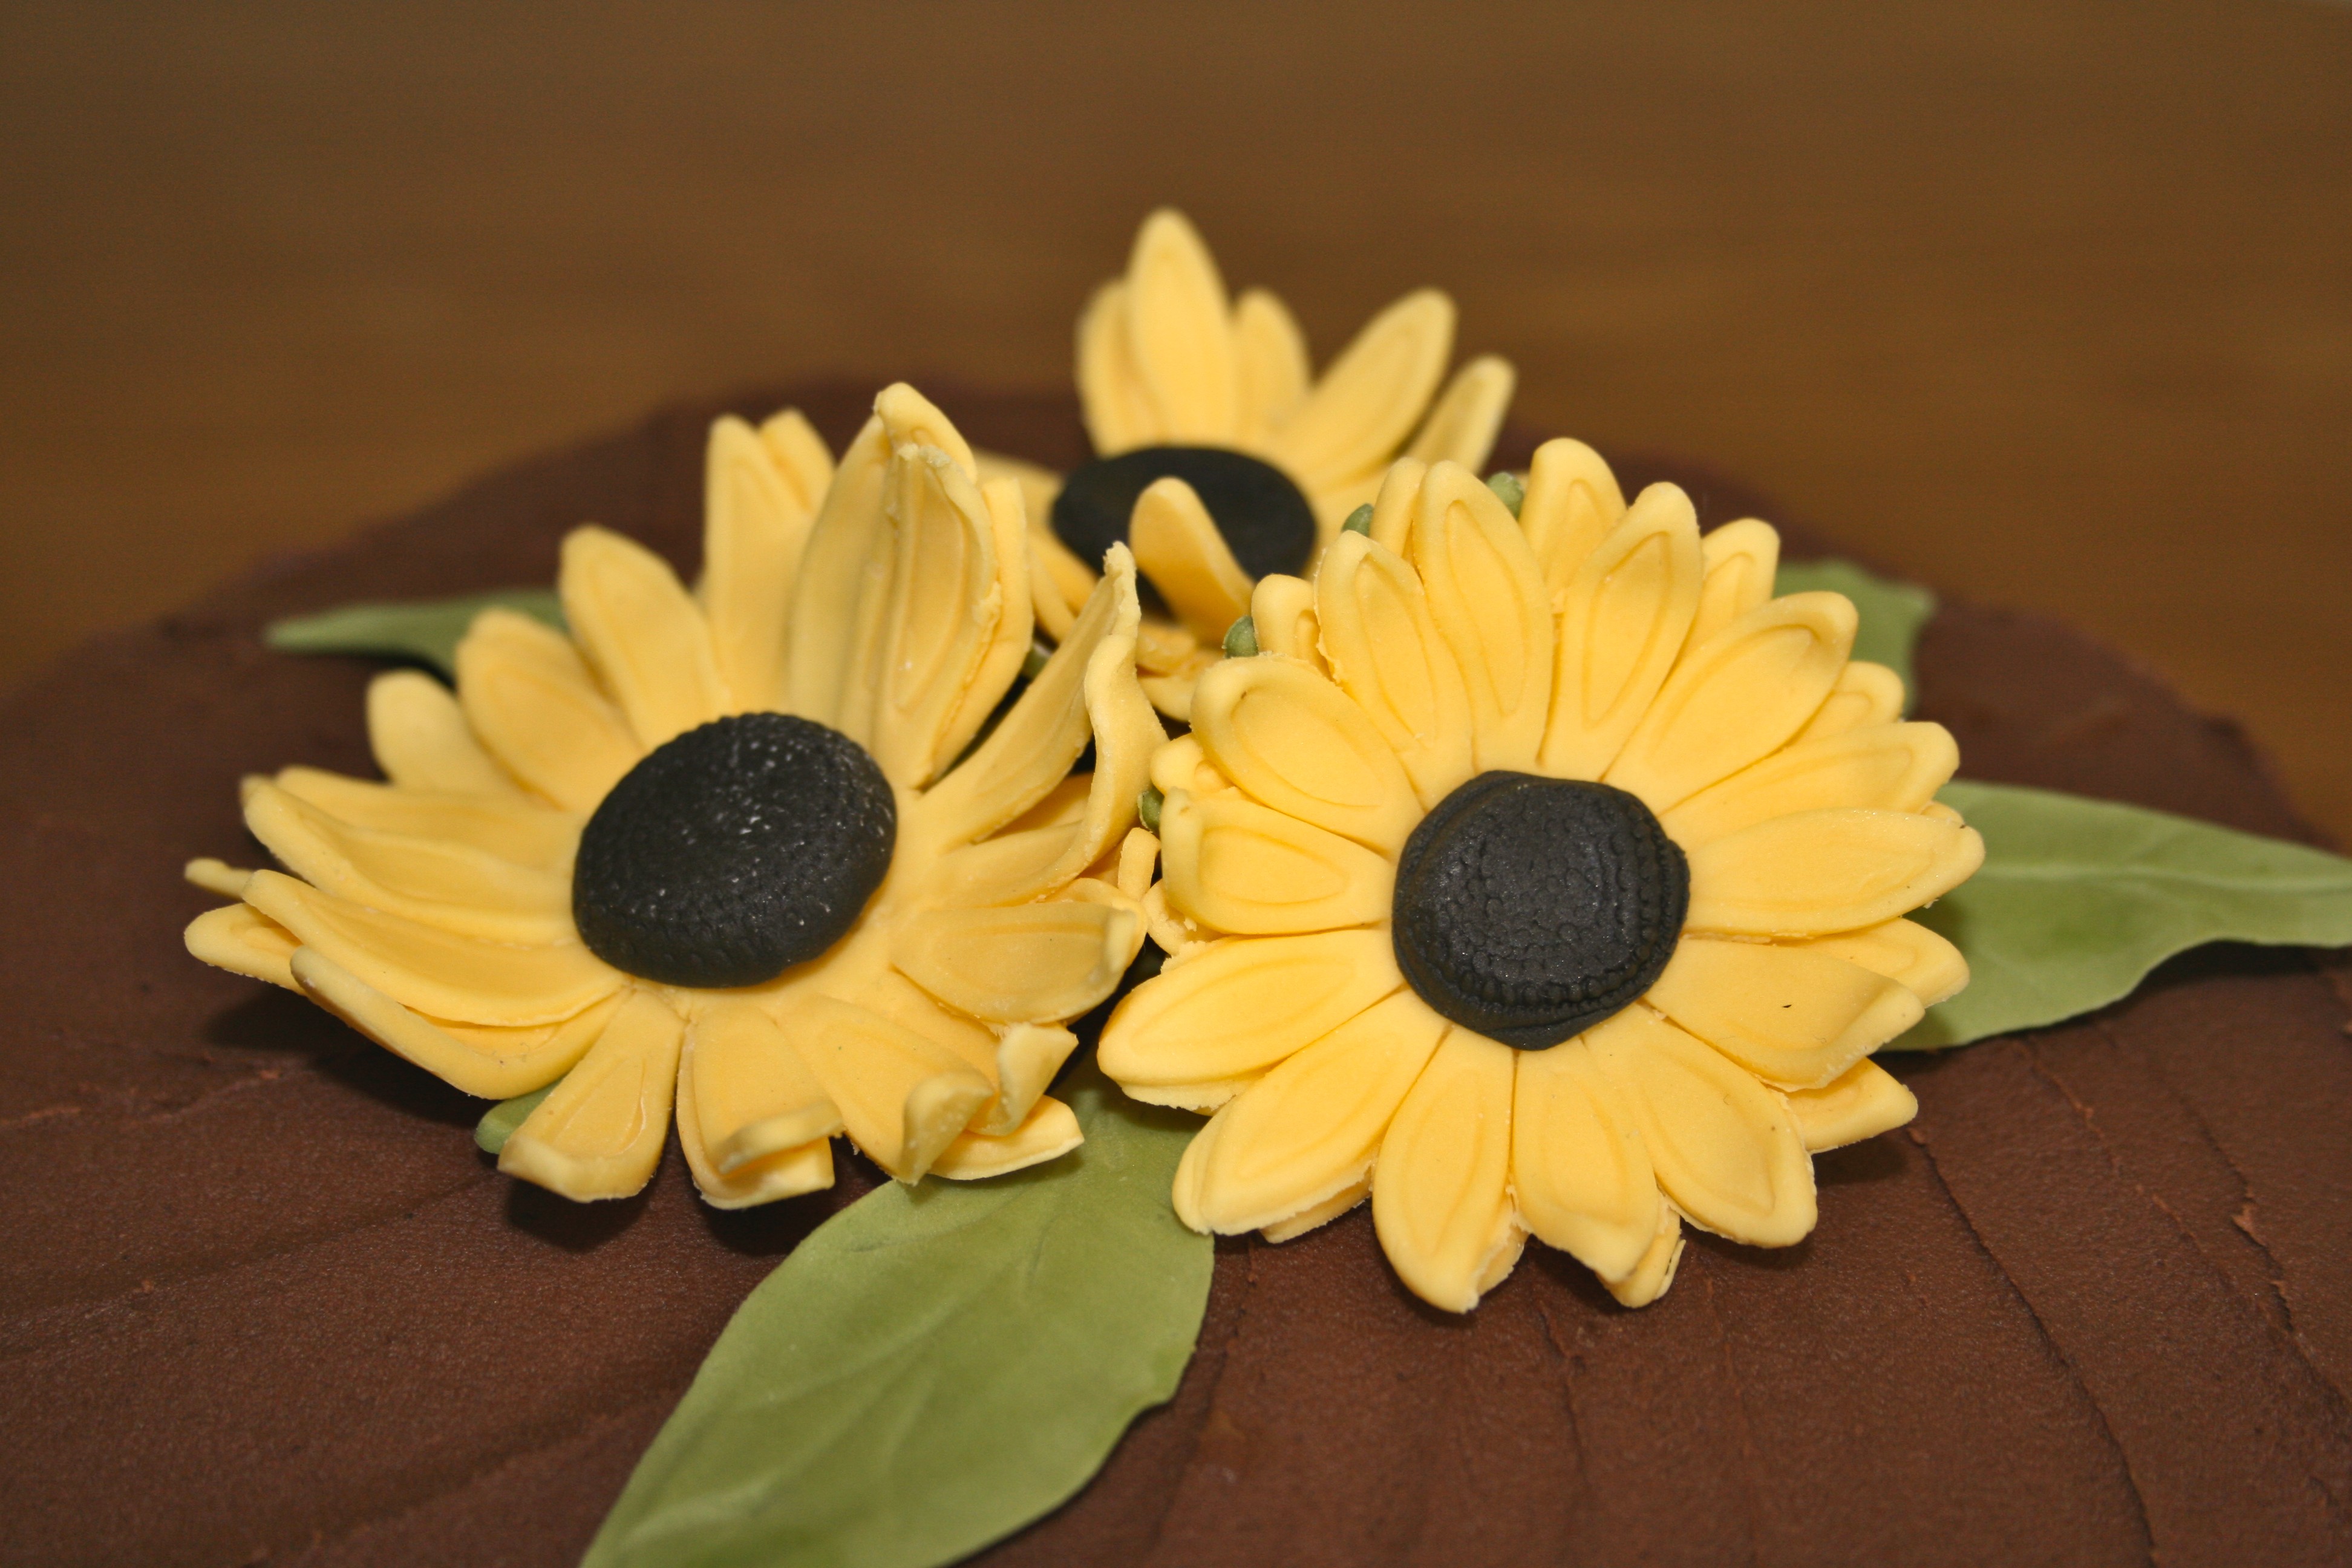
This is a really simple thing to do which I’m sure most of you will be able to work out no problem by yourselves, but just in case someone is stuck, then here is a quick photo tutorial:
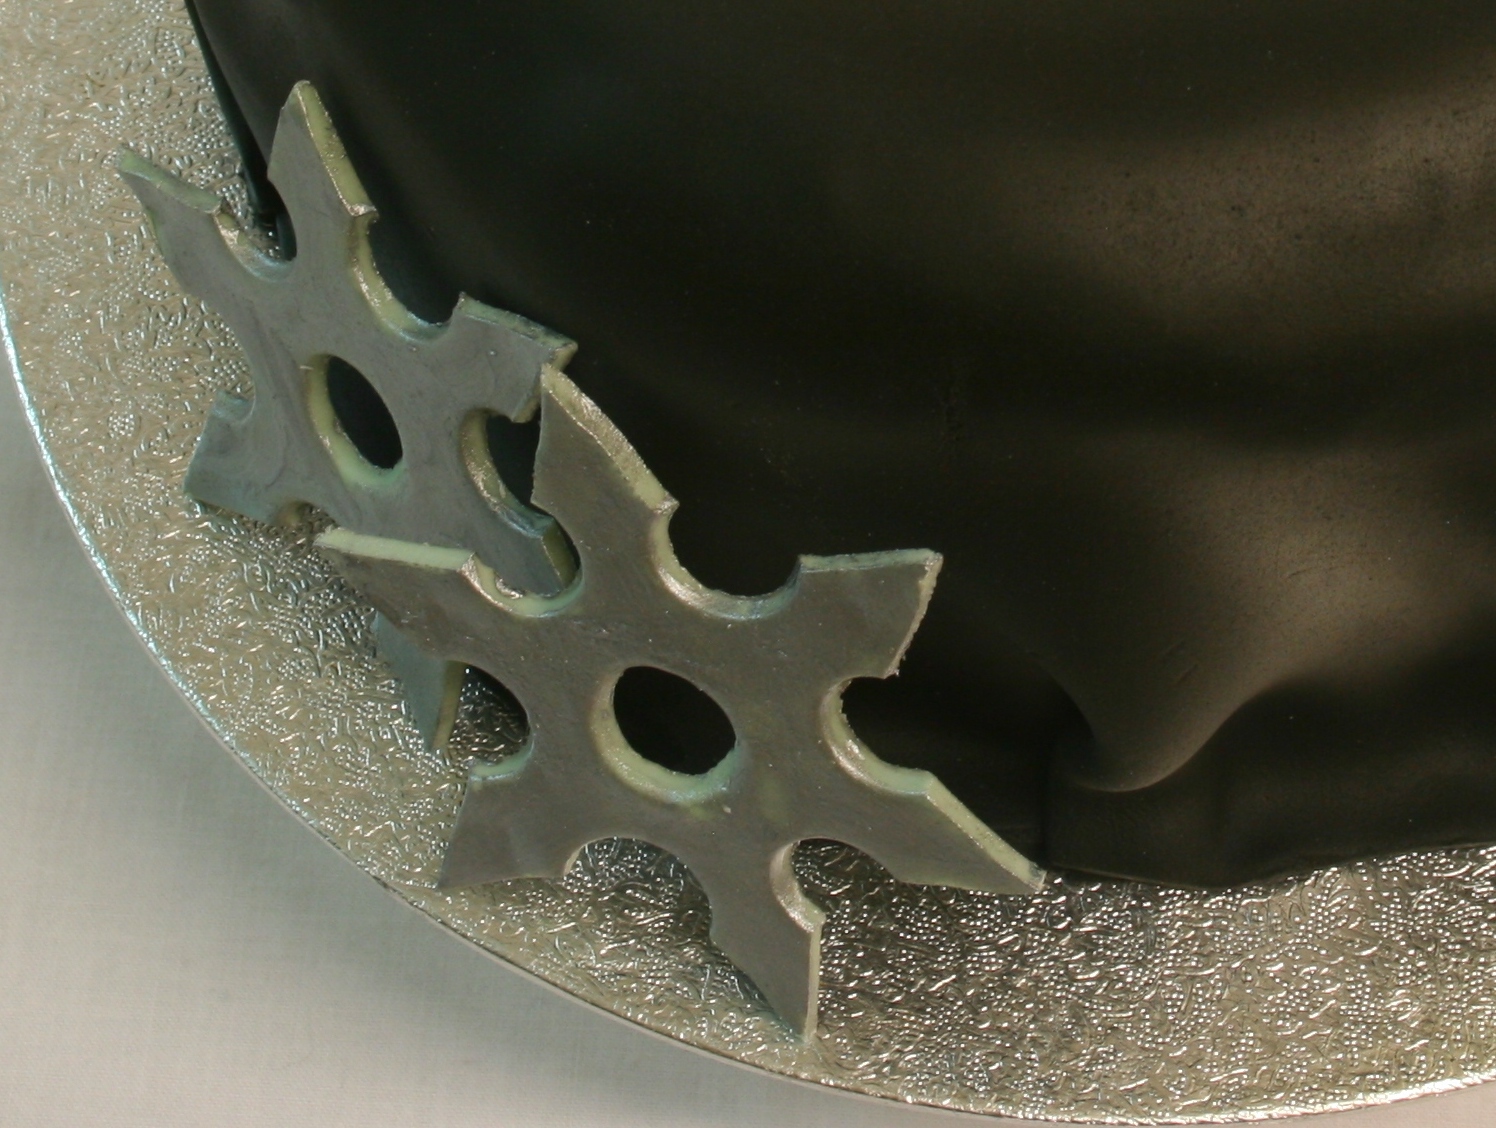
Start with some grey-coloured fondant or gumpaste.
Roll it out to about 1/4 to 1/8″ thick – you want it to have enough thickness to support itself.
Place a template of a six-sided star on your fondant, or else use a star shaped cookie cutter if you have one the right size.
Cut out the star shape with a sharp knife.
Take a large round piping tip and cut a hole in the centre (the angle of the tip helps to make it look as if there’s a sharp edge).
Take the same tip and cut out sections at the base of each point:
Go all the way round, et voila!
Leave the stars to dry then paint with silver edible paint if desired. Don’t worry if the paint isn’t even, it helps to make the star look “used”. Make sure to paint the edges too. I found that it helped to leave painting the central edge til last as it meant I could gently put my finger in the hole to stop the star slipping about too much as I painted.
Place on your cake, stand back, and admire!
I hope you have found this tutorial helpful. It’s my first one, so please let me know how I can improve on it for next time.


